Showing posts with label William's room. Show all posts

Tuesday, January 29, 2013

William's Toddler Room {Source List}

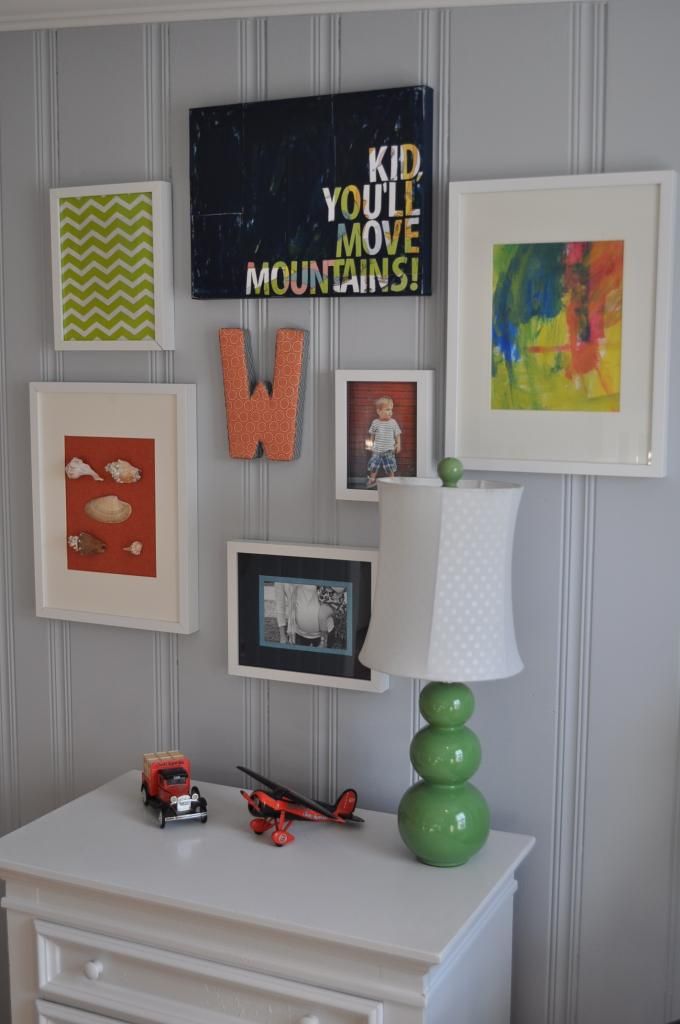
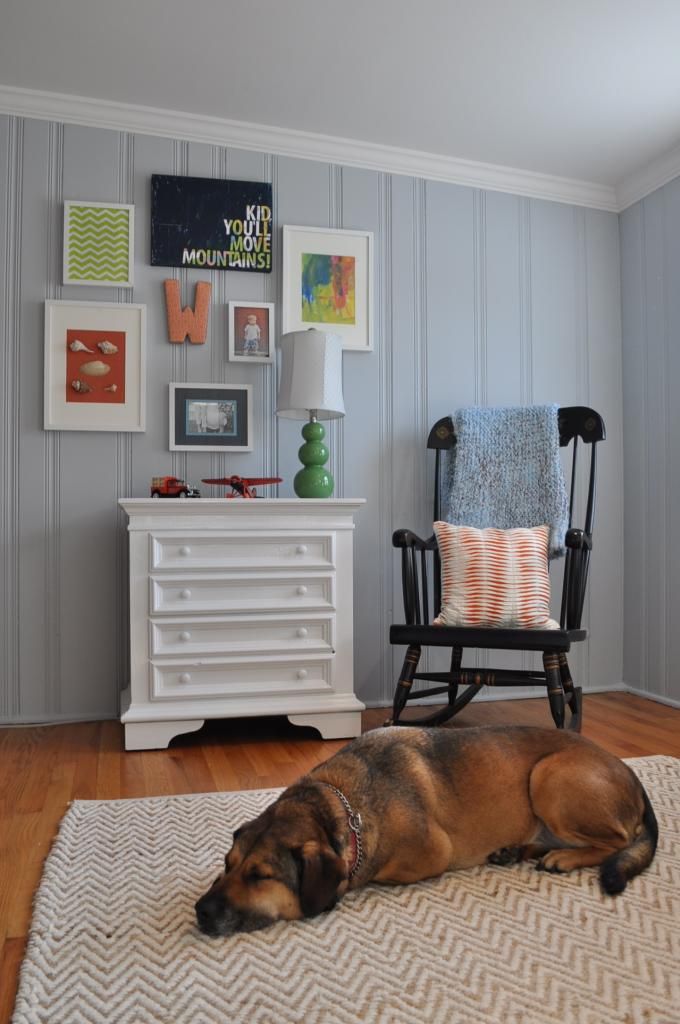
I've been getting a lot of traffic from the gallery wall post along with comments about where items were purchased. So here is the source list for as many items as I can remember.
Paint color - Benjamin Moore "Silver Half Dollar"
Picture Frames - IKEA Ribba
Spray painted White Nightstand - similar project
Lamp - Home Goods
Blanket - made by Grandma:)
Orange/White Pillow - Target
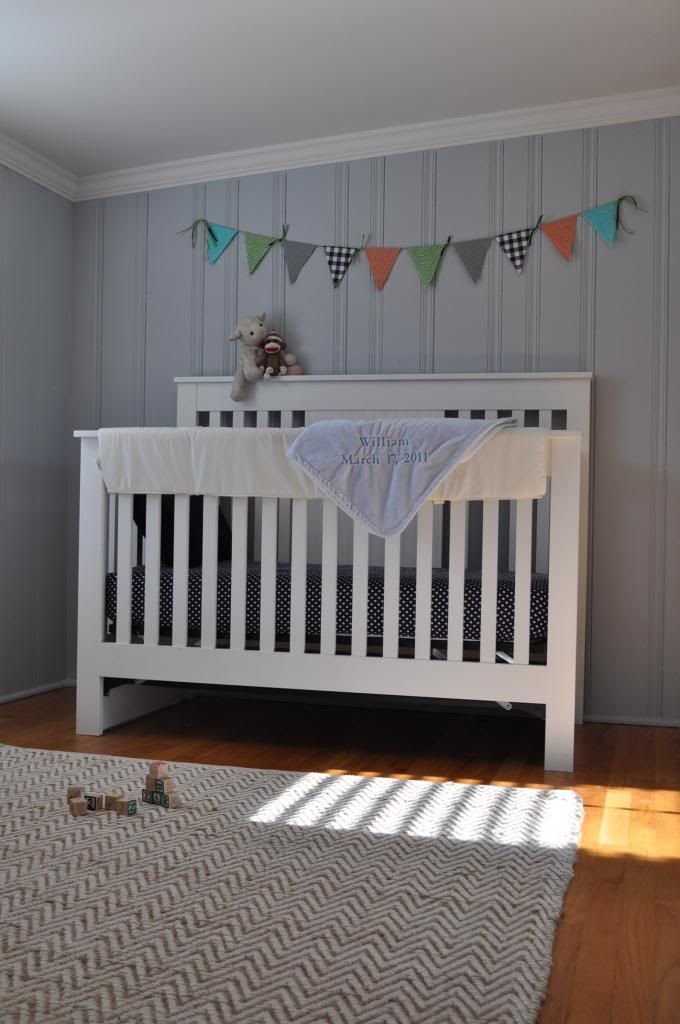
Rug - West Elm
Mini Dot Crib Sheeting - Pottery Barn Kids
Chamois Stroller Blanket - Pottery Barn Kids
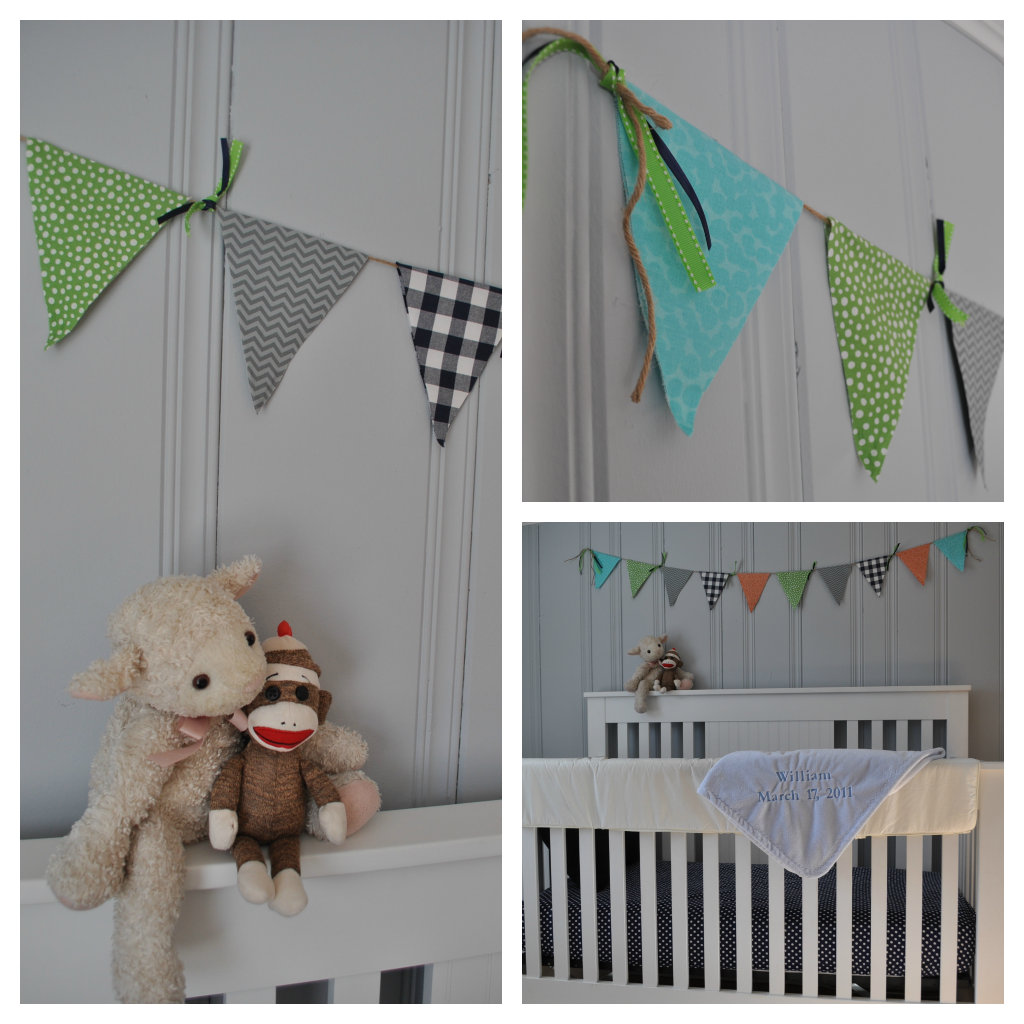
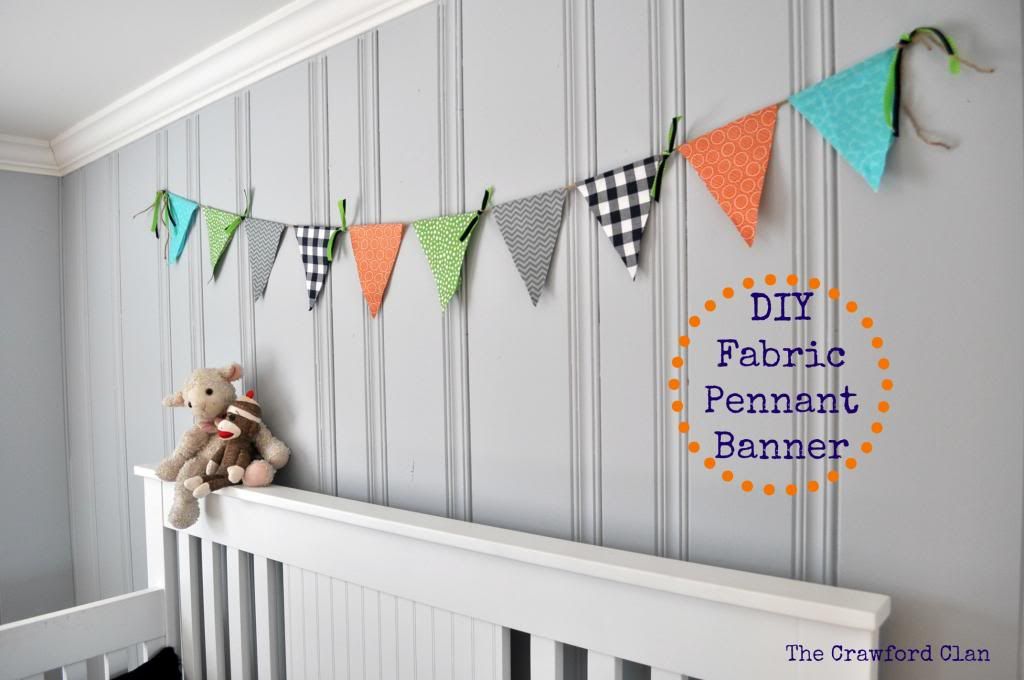
DIY Fabric Pennant - Post here


Book Ledge - IKEA
Storage Bins - IKEA
Changing Pad Cover - Pottery Barn Kids

I hope this post helps anyone searching for these items!  
Have a great day and thanks for visiting!

XOXO

Aubrey


Tuesday, November 27, 2012

William's Room: {DIY} Fabric Pennant Banner

This little boy's room is officially done, though I think I said that last week.  Totally forgetting that I had one last project up my sleeve to show you.  

Being the bad blogger that I am, I didn't take any step by step pictures, but it's simple.

Supplies Needed:
*Fabric
*cardboard to make a template
*kitchen twine
*hot glue
*fabric glue
*ribbon

Steps:
1.  After purchasing all your fabric, you'll want to make a diamond shape template out of cardboard.  The sizing is up to you based on how big you want it.  I used a pen to trace onto the inside of the fabric to make it easier to cut.
2.  After cutting out all of your diamonds, you will want to use an iron to fold the fabric into the triangles.  
3.  I laid out the kitchen twine (don't cut the twine until you have hot glued every triangle) and one by one I hot glued the inside of the crease of each diamond.  
4.  Once complete, I did use fabric glue on the point of each triangle just to seal the two tips together.  I'm sure some would sew the edges to prevent fraying, but that isn't part of my skill set.
5.  Lastly, we hung.  Instead of nailing it into the wall, we used a staple gun.  To hide the staples and add more pop to the banner I tied coordinating ribbon.
This project took me three months to complete.  The actual time spent on the project was probably three hours.  Not including picking out the fabric.

I also wanted to share that my post last week about William's gallery wall was featured today over at My Uncommon Slice of Suburbia.  
My Uncommon Slice of Suburbia


I'm crazy excited that there were over 200 entries and my little blog was one of the featured posts!  There are some great projects also being featured, be sure to check it out.  

Also sharing with:


XOXO

Aubrey

Wednesday, November 21, 2012

William's Room: Gallery Wall


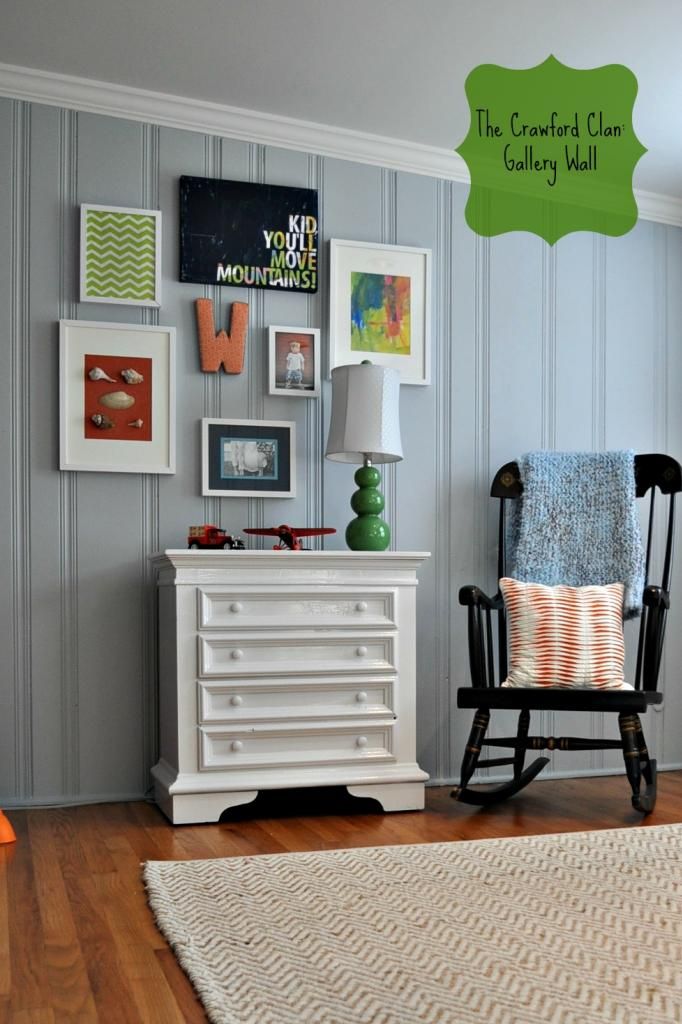
I'm finally getting to share the completed gallery wall in William's room.
Most of it has been done for awhile, but there were a few tweaks to be done to finish it!


I had a vision in my head and while it took a lot longer than I thought to make that vision happen...it did!  Decorating a toddler boy's bedroom isn't easy when you're looking for something that isn't trucks or dinosaurs, but also isn't baby or big boy.  I want the room to grow with him for a few years and felt that patterns and color would do just that!

The green chevron was actually taken from the runner I used at the Stella and Dot party I hosted and the painting was one of the hundred that Lauren has brought home from school.  Both of these could easily be switched out to add a favorite picture or maybe an art project that William may eventually bring home.

You've seen some of the projects months ago:


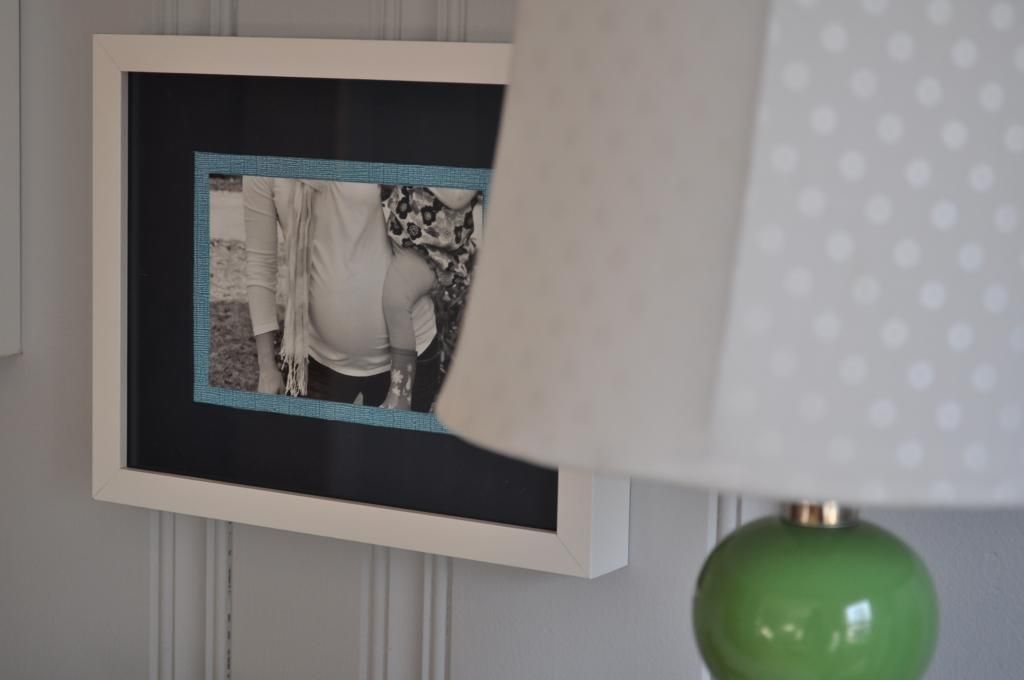
As much as I love pictures, I didn't want this wall to filled with them.  This black and white photo is probably my most favorite picture.  It was taken the day William was born by my mom.  We were leaving for what later became my last OB appointment and I had this feeling it was our last moment as a family of three.


I found the lamp last week at Home Goods at a great price.  The shade is a little girly, but I can easily switch that out down the road.  And the chair was my parents, I'd like to paint it orange or navy, but we are done for now!
I hope it was worth the wait...it was for me!

UPDATE:  I have gotten a lot of pinterest traffic from this post.  You can find a source list for the entire room here!  Enjoy!


Sharing With:


XOXO

Aubrey

Wednesday, November 14, 2012

William's Room: Book Ledge

Did you think you were ever going to see progress?  I know, I know...slowest makeover ever.  But, I'm actually a lot further along then it appears.  The gallery wall is practically complete, I just found a lamp for the nightstand and a few more tweaks and it's ready.  So in the mean time, this spot is complete!

I've seen these photo ledges being used to display books all over pinterest and thought it would be a great addition to William's room to bring in color and fill up a blank wall.  


We purchased this at IKEA for $14.99 and had all the books already on hand!

I also got these boxes at IKEA too.  I can't remember the price, again cheap...and I love the gingham lining inside.  They come with lids but since they are holding his diapers and wipes it didn't make sense to use them.

This area won't always be a changing station, but I think as he grows the ledge will continue to work.  Wills thinks so too.

XOXO

Aubrey

Wednesday, September 5, 2012

William's Room: DIY Quote on Canvas

I found this idea on pinterest a few weeks ago and thought we could do something similar in William's room.  Find a quote, glue, paint and voila!

This blogger used old magazines, newspaper, or pages from books.  I wanted something that would have a little more meaning.  The Dr. Suess book Oh, The Places You'll Go! , has been a family favorite!

This book was given to me by a dear friend when I graduated from high school.  I've kept it ever since and read it to both Lauren and William while pregnant and ever since. 
Billy and I picked a few favorite pages and had color copies made.

The supplies needed are a canvas size of your choice, acrylic paint, brush, glue, vinyl letters, and mod podge for a finished look.


As much as I love the title, this quote is one of my favorites.  I laid the paper out and used hot glue (though elmers would have worked too).  Then I placed the vinyl letters in place and painted away, painting over the letters too.


After the paint dried, I removed the letters.  They pulled away easily and then applied two coats of mod podge, though I think I might add one more to give it more shine.


Like most of my projects, it was pretty painless.  
For less than $20 we've got an original piece of art.


Sharing With:


XOXO

Aubrey


Tuesday, July 10, 2012

William's Room: DIY Fabric Letter

I tackled my latest project last night and early this morning.  I would have more pictures for a tutorial, but I was multi-tasking.  Last night while watching TrueBlood and this morning while making the kiddos breakfast.  
How about a little hot glue on your french toast?

I found inspiration from these letters and followed the simple tutorial.  


Supplies were simple.  Fabric, scissors, fabric glue, padding, sharpie, hot glue gun.
Oh, and the letter, pictured below.

A little hint...just cut bigger and gradually go smaller.  You can always cut more, even after gluing.  I also glued one side of the letter and then the next, pulling tightly.  The tutorial suggested gluing the face and then the sides.


I'm not a crafting genius and besides a few glue burns, it was easy.  Maybe an "R" or "B" would be harder.  When doing the sides, I simply eyeballed and cut a long stripe that was a little bigger than double the width of the letter.  I used the fabric glue to fold over the fabric so there wasn't a frayed edge on one side.

I just hot glued the other side to the back of the letter.  I did make cut outs (if that makes sense) to help make sure the sides were tight.


 I do have rest of his monogram and enough fabric to complete the project.  But I'm going to wait until we get the room more complete in case I want to throw in a few other patterns.  

I think it matches pretty well:)


 I am linking up this post as part of a summer pinterest challenge project with some pretty talented home bloggers.  Check out Young, House, Love, Censational Girl, and Ten June.  


Warning:  you can get pretty lost in clicking on some of these projects:)


XOXO


Aubrey


Tuesday, July 3, 2012

William's Room: Easy Art

I seem to be moving at a snail's pace when it comes to decorating William's room.  Besides trying to narrow down a paint color, 
I haven't done anything since the DIY shell art.


I finally got all the supplies for my next art project and accomplished it over the weekend with a little help from Billy.  I purchased this cute ABC sign from etsy and found some scrapbook paper that I wanted to frame for the gallery all I want to create.


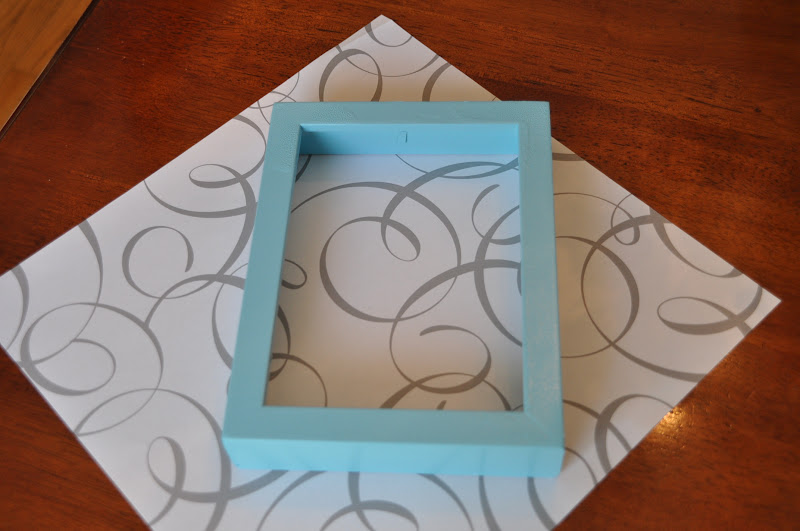
I felt like the frames needed some color, so I put Billy to work with a can of spray paint.
A little sanding to prep and he was ready to go.


Once everything was dry, this project took no time at all. 
 All I had to do was cut the scrapbook paper to size and assemble.


The easier the better.  Next on the agenda is painting the room.  I just found this great post about gray paint colors.  It can be tricky finding the right one.


XOXO

Aubrey

Thursday, May 17, 2012

William's Room: DIY Shell Art

I did a little DIY'ing last weekend too.  This project was unbelievably EASY.


I picked up several RIBBA frames from IKEA for the display wall I want to create in William's room.   I debated using a shadow box type frame but liked the idea of having the shells exposed.

After removing the glass, I cut scrapbook paper to fit and glued to the cardboard that came with the frame.  Then positioned my shells and hot glued.


 How's that for a tutorial?  Start to finish...10 minutes.
When the display wall is complete I may spray paint the frame.

In this picture the oranges aren't meshing, but it works.  Things are moving!  The rug arrived and I want to try and pick a paint color this week.


XOXO


Aubrey


Tuesday, May 8, 2012

William's Room Inspiration


I'm finally getting around to starting William's room.  For almost the first year he was sharing a room with his sister but for the past few months has been in his own room with only a dresser and crib.  I decided to create this mood board to help give me a little direction and light a fire to get me going!

1.  This little canvas was a baby gift and started the inspiration for the entire room.  As soon as I opened the package my wheels started spinning.


2.  Color Scheme:  Grey, Orange and Blue
While orange and blue sparked the theme of the room, I think grey will add a modern touch and also less of a baby feel to the room.


3.  Fabric
This seems to be the hardest part for me and what has kept me from really starting.  There are a million paint colors to choose from, but only so much fabric that will work.

I'm not going to do new crib bedding when William could very well transition to a toddler bed before he is two, but I want to add more color through fabric to the room.  
Decorating a boy's room is much more challenging (to me) then a girls' room.  I'm not really into the themed decor.  Right now I'm liking thisthis, or this all from Annette Tatum.  They are all cute and would coordinate well, I'm just not sure how I want to use the fabric.  Curtains?  Pillows?  

4.  Paint Color
I keep coming back to grey walls.  All the furniture is white and I think a light grey wall will be a fresh look for the room.

5.  Repurpose an old chair
All of the furniture is white and the only new piece we are planning to add is a chair. Possibly reupholstering or painting a craigslist find.

6.  Rug

The entire upstairs is hardwood floors so a rug is a must.  At first I was drawn to a chevron print after seeing it in other nurseries, and while I still like it, I'm on the fence.  With some of the little touches I want to add a sisal or sea grass rug seems more fitting and would add some texture to the space too.


7.  Display Art
I love our gallery wall in the bedroom and wanted to add something similar to William's room but with more art and color.  This wall is my inspiration!  I have already picked up some frames at IKEA and have a few ideas that I can't wait to get started on.  
I found this ABC sign, and hope to use some shells that we brought back from our trip to Marco Island.


So now that I've shared my mood board (which was super easy to create, BTW) I'm going to get a timeline going and get this project started.


This time I've got before pictures....


Little helper:)

XOXO


Aubrey